
Blog
John Deere 10.5L & 12.5L Injector Sleeve Installation Steps
Precision cylinder head service guidelines for ag equipment and heavy diesel mechanics.
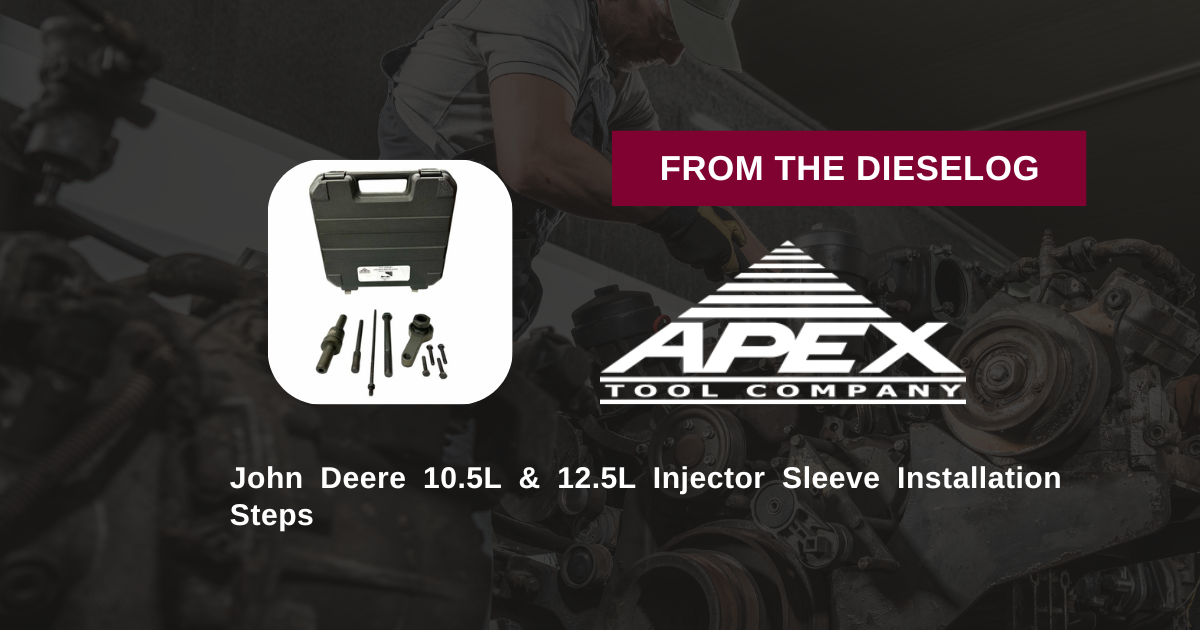
Reconditioning a cylinder head or repairing coolant leaks on a John Deere 10.5L or 12.5L diesel engine? Follow this step-by-step professional workshop procedure to clean head bores, apply retaining compound, assemble the JDG981 driver, and press fresh injector sleeves dead-square to factory depth limits.
Why Improper Sleeve Installation Causes Immediate Engine Failure
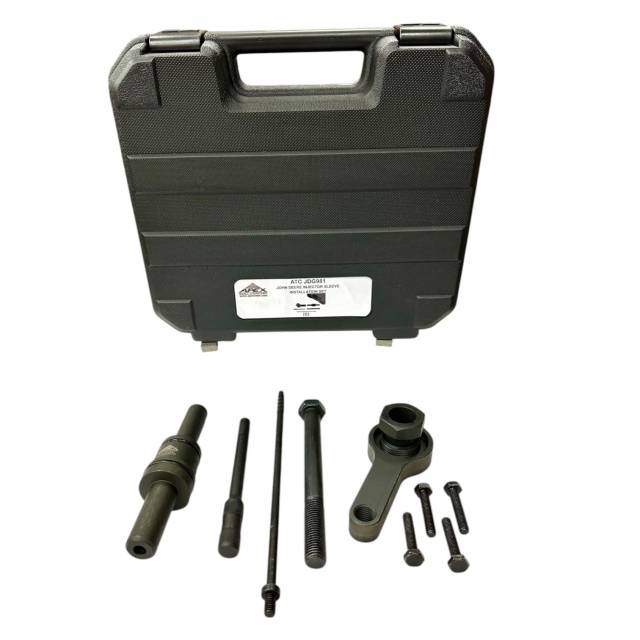
Injector sleeves on John Deere 10.5L and 12.5L engines are precision press-fit components. They isolate engine coolant passages from fuel injectors while providing a centered seating cone for unit injectors. During cylinder head servicing, installing a new sleeve requires establishing complete, 360-degree contact between the sleeve exterior lands and the cast-iron head bore. If a mechanic attempts to drive a new sleeve into the head using makeshift punches or sockets, the impact driver cocks the sleeve. Cocking the sleeve creates deep vertical gouges in the soft sleeve metal and scrapes away anaerobic retaining compound. As a result, pressurized coolant leaks past the sleeve seals straight into the cylinder or fuel rail. Furthermore, an unevenly seated sleeve misaligns the fuel injector tip, causing poor spray atomization, severe engine misfires, and premature piston crown burning. Utilizing the dedicated JDG981 installation driver kit ensures the sleeve is guided down a dead-straight axis, applying centered force directly over the sleeve shoulder until the tool bottoms out solidly against the head deck depth stop.
The 5-Step Injector Sleeve Installation Protocol
- Cylinder Head Preparation & Bore Cleaning: Clean the cylinder head injector bore thoroughly after extracting old sleeves. Scrub cast-iron bore walls with a wire bore brush and solvent until 100% dry and free of old sealant, carbon, or scale.
- Apply Retaining Compound: Inspect the fresh replacement sleeve. Apply recommended anaerobic retaining compound (e.g., Loctite 620/640) around the upper and lower sealing lands of the sleeve per John Deere technical service guidelines.
- Stage Sleeve onto JDG981 Driver Mandrel: Slide the new injector sleeve onto the JDG981 driver mandrel, ensuring the lower pilot guide extends through the sleeve tip to maintain dead-centered alignment.
- Drive Sleeve to OEM Depth Stop: Position the JDG981 driver and sleeve assembly squarely over the cylinder head injector bore. Using a dead-blow hammer or mechanical press, apply smooth, steady driving force to the top of the JDG981 driver. Advance the sleeve until the tool depth-stop collar seats solidly flat against the cylinder head deck.
- Inspect Seating & Clean Excess Compound: Withdraw the JDG981 driver tool. Wipe away excess retaining compound from the inner nozzle seat and upper sleeve lip. Inspect the installed sleeve 360 degrees to verify flat, square seating and zero internal distortion before proceeding with injector installation.
PRO-TECH BORE CLEANING & DRY SEATING MANDATE:
Always ensure cast-iron cylinder head bores are completely clean and dry before applying retaining compound! Residual engine oil or cleaning solvent will destroy anaerobic sealant adhesion, causing immediate coolant leaks into fuel circuits!
Precision Steel Alignment Tooling. Protect John Deere Overhauls.
Get the JDG981 Master Installation Kit Now
overall rating:
my rating:
log in to rate