
Blog
PACCAR MX-13 Piston Installation Steps
Precision short-block assembly guidelines for commercial fleet and Class 8 mechanics.
Assembling a short block or performing an in-frame overhaul on a PACCAR MX-13 engine? Follow this step-by-step professional workshop procedure to stagger ring end gaps, lubricate components, position the ATC 7900 sleeve tool, and tap pistons smoothly into cylinder liners without ring binding.
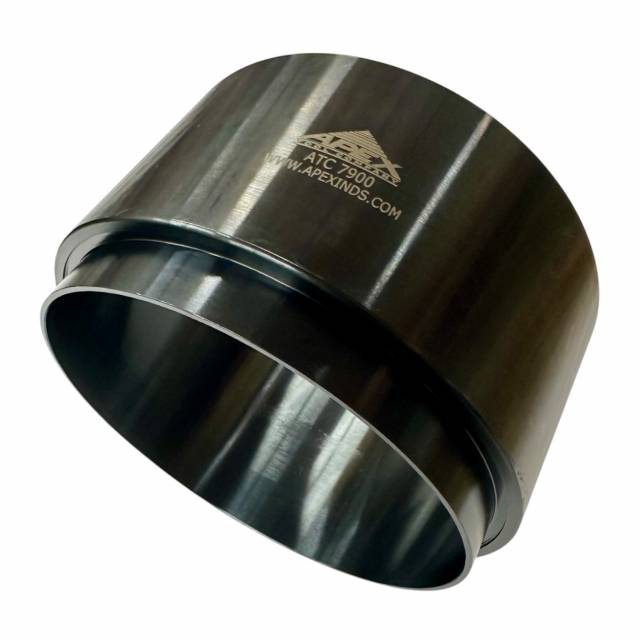
Why Generic Adjustable Ring Band Tools Fail on PACCAR MX-13 Engines
Heavy-duty PACCAR MX-13 engines utilize steel-crown articulated pistons and high-tension ring packs engineered to seal extreme cylinder pressures. During piston installation, using flexible sheet-metal band tools or universal pliers is a primary cause of short-block rework. Flexible bands rely on friction locks that can shift out of square relative to the engine block deck face. If a band cocks sideways, the bottom edge lifts off the liner rim. As the technician taps the piston crown, the oil ring expander springs outward into the gap and gets caught on the liner entry chamfer. Striking the piston under these conditions snaps the hard ring tip, deforms the piston ring land, or carves deep vertical gouges into the honed cylinder liner. Utilizing the dedicated 5-pound ATC 7900 sleeve compressor completely prevents these assembly failures. Precision-machined as a solid ring of steel with a polished internal entry taper, the ATC 7900 rests completely flat against the liner top deck. Lubricating the piston skirt and sliding the sleeve down over the ring pack compresses all rings perfectly flush into their lands. When tapped with a wooden or plastic mallet handle, the piston slides straight downward into the liner bore with minimal resistance, preserving ring pack integrity and cylinder wall cross-hatching.
The 5-Step PACCAR MX-13 Piston Installation Protocol
- Stagger Ring End Gaps to Factory Specifications: Clean piston ring lands and rotate ring end gaps to specified angular offsets (typically 120° apart for 3-ring packs, ensuring no gaps align with the wrist pin bore or major thrust faces).
- Lubricate Piston, Rings, Liner & Tool Interior: Apply clean engine assembly lubricant or heavy motor oil generously to the piston skirt, ring lands, cylinder liner wall, and the polished inner taper of the ATC 7900 sleeve compressor.
- Position ATC 7900 Compressor Sleeve over Liner: Guide the connecting rod down into the target cylinder bore (protecting rod bolt threads or journal surfaces with rubber boots). Rest the flat bottom face of the ATC 7900 tool square against the top rim of the cylinder liner.
- Compress Rings & Seat Piston into Sleeve: Slide the lubricated piston assembly downward through the tapered bore of the ATC 7900 tool. The internal taper will gradually compress all rings flush into the piston lands as the assembly approaches the liner deck.
- Tap Piston Crown Smoothly into Cylinder Bore: Hold the ATC 7900 compressor pressed firmly flat against the liner rim. Tap the top center of the piston dome smoothly using a clean wooden or plastic mallet handle. The piston should glide straight into the liner. If high resistance is felt, STOP immediately to inspect for ring binding!
PRO-TECH FLUSH SEATING & MALLET MANDATE:
Always maintain firm downward pressure on the ATC 7900 sleeve to keep it flush against the liner top deck while tapping! Never force a piston down with heavy hammer blows; a properly aligned piston inside the ATC 7900 tool glides into the bore with light mallet taps!
5 lbs Precision Steel Sleeve Tool. Protect PACCAR MX-13 Engine Rebuilds.
Get the ATC 7900 Ring Compressor Now
overall rating:
my rating:
log in to rate