
Blog
Rockwell & Meritor Air Brake Pan Overhauls
Precision foundation stopping component maintenance guidelines for transport fleets.
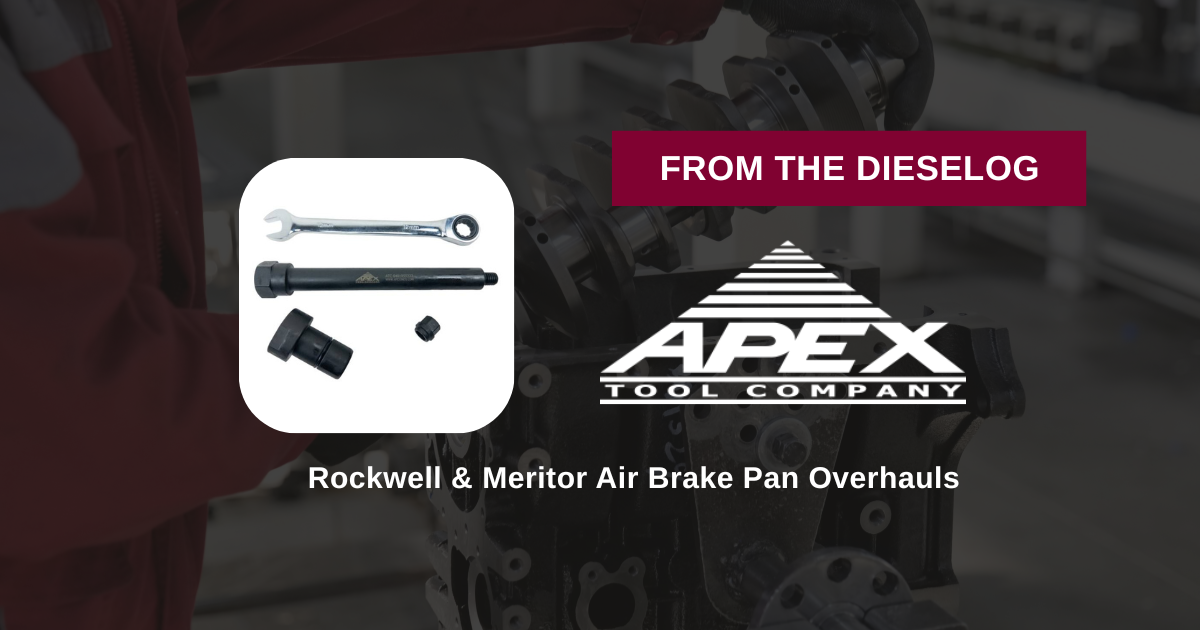
Fighting frozen anchor pins or struggling to seat return hardware on a heavy freight trailer axle? Learn the professional workshop sequence to teardown and adjust assemblies using the ATC 640-195-522-2 toolkit.
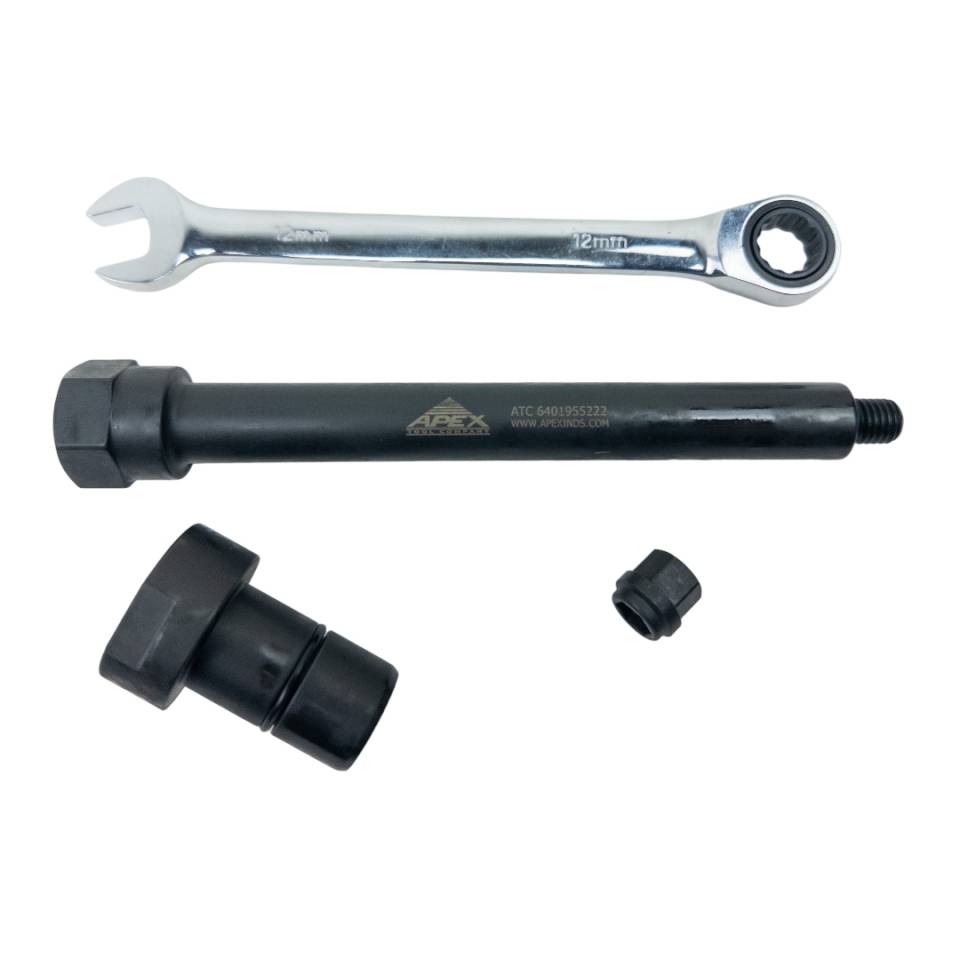
Why Asymmetrical Prying Deflects High-Load Return Hardware
The mechanical components tucked inside a commercial vehicle air brake pan operate under dense spring loads. When a line technician attempts to unseat spider assemblies, pins, or adjustment hardware using generic screwdrivers or unguided pry levers, the force drops at an unparallel angle. This asymmetrical prying causes high-tension return springs to warp or snap sideways, throwing tool components out of square and scarring precise sealing surfaces. Microscopic grooves carved into anchor pin tracks create permanent drag lips, which trigger sticking brakes and uneven lining wear during heavy transit hauls. Utilizing application-specific tools like the ATC 640-195-522-2 basic group forces all removal and installation loads down a perfectly parallel mechanical axis line, keeping your foundation components completely straight.
The 5-Step Air Brake Pan Maintenance Sequence
- Axle Chock and Foundation Triage: Secure the commercial tractor with structural wheel chocks on flat shop floor deck. Release the air systems and cage the brake chambers safely. Strip away the outer brake drum and shoes to access the internal pan frame.
- Unseat Adjusting Arms and Slack Links: Align your specialized ATC 640-195-522-2 wrench tool over the automatic slack adjuster link. Apply uniform counter-torque to smoothly disengage the pushrod adapter pins without marring the internal spline tracking grooves.
- Extract Spider Pins and Anchor Seals: Thread your targeted kit adapter mandrel directly onto the foundation pan anchor pin face. Turn the force shaft evenly to draw the frozen pin and worn seals straight out along a perpendicular axis, avoiding any structural casting distortions.
- Bore Cleanout and Casing Prep: Clean out all remaining road scale, calcified carbon dust, and old grease glaze from the pin housings with a wire chaser brush and quick-drying solvent. Inspect the block walls under bright workspace lights for fatigue lines or hairline fractures.
- Reassemble and Run Stroke Adjustments: Fit fresh grease seals and lubricate your new pins. Drive them home squarely using your ATC installation driver tool until they flat-seat against the backing stop. Re-hook your heavy return hardware springs, mount the brake shoes, and run a final stroke measurement test to verify uniform travel boundaries.
PRO-TECH FOUNDATION SEALING RULES:
Always ensure your anchor pin grease seals sit completely flat and parallel inside their pan grooves before completing reassembly! A pinched or rolled seal allows high-velocity road salt and water to bypass the cavity, leading to rapid corrosion freeze-ups that can lock your brakes open under highway conditions. Never use unrestricted hammer blows to force seal rings into position.
Class 8 Stopping Safety. Secure Factory Precision for $200.00.
Order the 640-195-522-2 Tool Kit Now
overall rating:
my rating:
log in to rate