
Blog
Volvo FM12 Oil Mist Separator Overhaul Sequence
Precision emissions component reconditioning guidelines for commercial transit fleets.

Dealing with an unexplainable smoky exhaust or chasing oil tracking residues out of your compressor lines? Learn the professional technical sequence to swap separator cores safely using the ATC 92600 wrench.
Why Asymmetrical Straps Deform Round Composite Ventilation Seals
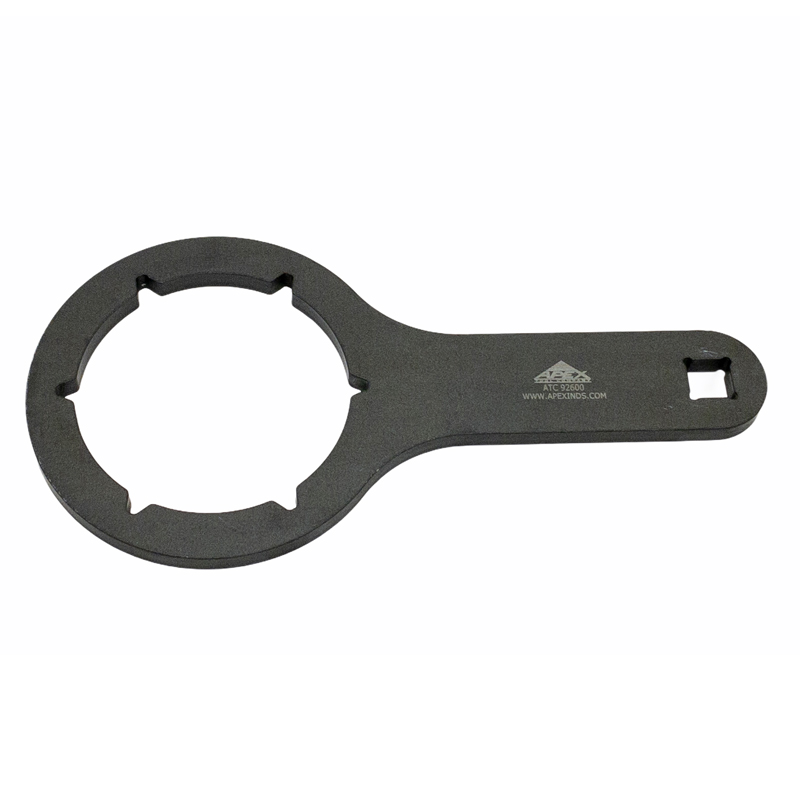
The oil mist separator body on a Volvo 500P engine block uses a precision-machined plastic threaded joint to seal its inner fluid channels. When a line mechanic tries to save time by spinning this housing loose with a standard chain or rubber strap wrench, the force applies as an aggressive squeezing pressure. This radial stress pinches the round cover inward, deforming the plastic threads and binding them hard inside the block track. Attempting to force a bound plastic cap past its threshold easily strips the fine metric threads or permanently rolls the internal rubber perimeter gasket out of its slot. Utilizing a dedicated parallel flat wrench like the ATC 92600 distributes your leverage completely evenly across all contact points simultaneously, unseating caked caps smoothly without housing distortion.
The 5-Step Separator Maintenance Protocol
- 场地Workplace Isolation and Component Cleaning: Park the commercial truck securely on shop ground. Turn off the ignition switch and isolate the primary master battery links. Clean the oil separator exterior face aggressively with solvent to strip away dust crust and oil sludge.
- Seat the ATC 92600 Flange Flat: Slide the ATC 92600 separator wrench directly over the top of the composite filter cap casing. Push down firmly to verify that the tool’s inner teeth mesh completely square with the housing flats to prevent slippage.
- Unscrew and Lift the Cap Casing: Afford a solid manual breaker bar or 1/2" drive handle into the socket wrench interface. Apply steady, horizontal counter-clockwise leverage. The tool will turn the composite cover uniformly, breaking caked carbon bonds without crushing the plastic wall.
- Filter Element Extraction and Bore Dressing: Extract the spent oil mist separator filter core. Inspect the housing interior for sludge blockages. Use lint-free towels and mild solvent to wipe out the sealing track down to bare, clean metal, removing any old grit.
- Install Filter and Lock to Torque Spec: Drop a new OEM separator core element straight into position. Lightly lube the fresh housing rubber ring with engine oil. Lower the cap cover back down, slip on your ATC 92600 tool, and use your hand tools to snug the assembly down tightly to exact manufacturer specification thresholds.
PRO-TECH COMPOSITE OVER-TORQUE ADVISORY:
Never, under any circumstances, execute the final tightening passes on a composite oil mist separator housing using pneumatic air or high-power electric impact guns! High-frequency impact loads create severe torque spikes that will fracture the brittle plastic cover, strip out the block casting threads, or permanently warp the rubber seal ring—causing immediate engine oil blowouts under heavy pressure. Always pull final stages smoothly by hand.
Concentric Multi-Flat Security. Speed Up Fleet Emissions Maintenance.
Get Your ATC 92600 Wrench Set Now
overall rating:
my rating:
log in to rate