
Blog
Rockwell & Meritor Axle Seal Installation Steps
Precision wheel end reconditioning guidelines for commercial fleet and trailer mechanics.
Performing a wheel end overhaul, brake shoe swap, or differential service on a Meritor or Rockwell commercial drive axle? Follow this step-by-step professional workshop procedure to clean hub bores, align unitized seals, and drive seals squarely using the ATC4454 driver kit.
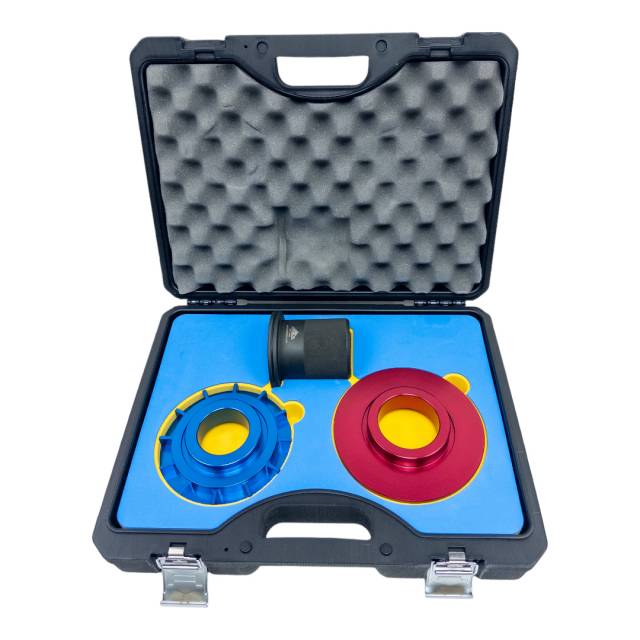
Why Off-Angle Axle Seal Drivers Cause Premature Wheel End Failures
The wheel hub seals on Meritor drive axles operate under severe conditions—holding back pressurized gear oil while keeping out road salt, dirt, and water. When installing a replacement unitized seal into the hub cavity, the seal must enter the bore completely level. If a line mechanic attempts to tap the seal into position using unguided hammer blows, sockets, or generic flat plates, driving force is concentrated on one edge. The thin metal casing buckles, distorting the internal rubber sealing lip and knocking the internal garter spring out of its seat. An un-level seal runs canted against the axle spindle journal, creating uneven wear tracks and heat buildup. Once the rig hits highway speeds, gear lube escapes past the damaged seal, soaking the brake linings and creating a major safety hazard. Utilizing a purpose-built driver mandrel like the ATC4454 anchors driving force squarely across the outer casing rim, sliding the seal down a 100% parallel axis to set exact OEM depth without damaging delicate seal components.
The 5-Step Axle Seal Installation Protocol
- Wheel Hub & Spindle Triage: Pull the axle shaft, spindle nut assembly, and wheel hub. Remove the old axle seal and inner bearing cone. Thoroughly clean all old grease, gear lube sludge, and burrs off the hub bore wall and spindle sealing journal using solvent and a scotch-brite pad. Inspect the spindle for deep wear grooves.
- Lubricate & Pack Inner Bearing: Inspect and pack the inner wheel bearing cone with clean gear lube or specified wheel bearing grease. Seat the lubricated inner bearing cone squarely into the hub inner bearing cup.
- Select & Assemble ATC4454 Driver Head: Match the correct driver ring from the ATC4454 kit to the target Rockwell or Meritor seal outer diameter. Mount the driver ring securely onto the heavy-duty drive handle.
- Stage Seal & Execute Parallel Driving: Lightly coat the outer metal casing of the fresh unitized axle seal with clean gear lube or approved seal sealant per manufacturer guidelines. Set the seal squarely over the entrance of the hub bore. Position the ATC4454 driver head flat against the seal shoulder. Using a brass-headed driver mallet or dead-blow hammer, apply firm, centered strikes to the driver handle end.
- Verify Bottoming & Reassemble Wheel End: Continue driving until the ATC4454 driver head bottoms out solidly against the hub shoulder, setting exact OEM depth. Withdraw the driver tool and visually inspect the installed seal casing for 360-degree flat seating and un-distorted rubber lips. Carefully slide the hub assembly over the spindle, reinstall outer bearings and spindle nuts, torque to spec, and refill the axle housing with approved gear lube.
PRO-TECH BRASS MALLET DRIVING DIRECTIVE:
Always use a dead-blow, heavy brass, or wooden mallet against the strike handle of the ATC4454 tool! Never strike the hardened steel tool handle directly with heavy steel shop sledges. Steel-on-steel impact can mushroom the handle top, send dangerous metal shards flying, or transmit violent shock waves that buckle the delicate unitized seal casing inside the hub!
Precision Machined Steel Driver Kit. Protect Rockwell & Meritor Wheel Ends.
Get the ATC4454 Driver Kit Now
overall rating:
my rating:
log in to rate