
Blog
Volvo D12/D13 Front & Rear Main Seal Removal Steps
Precision engine main seal service guidelines for commercial fleet and Class 8 mechanics.
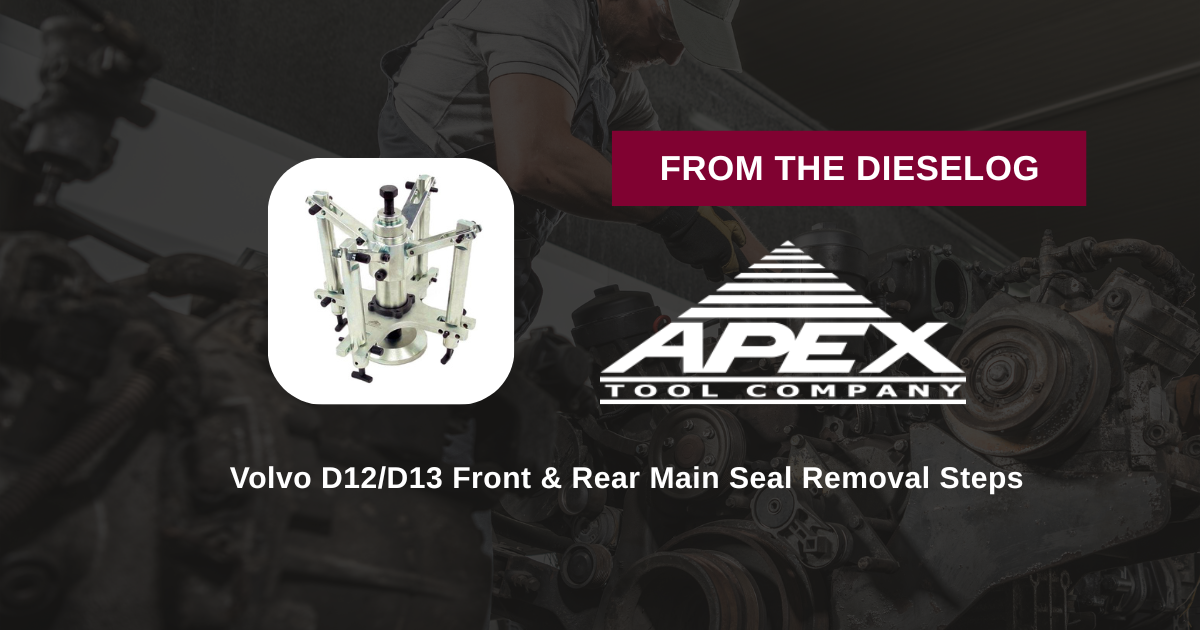
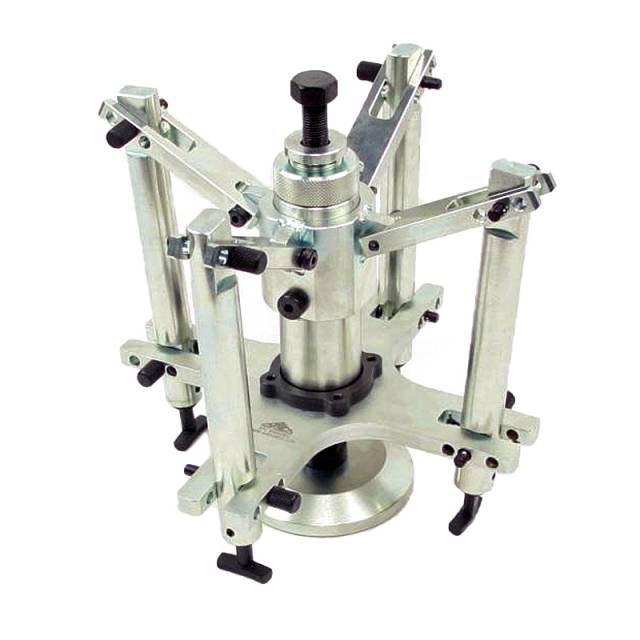
Replacing leaking front or rear main oil seals during clutch overhauls or timing service on a Volvo D12, D13, or FM12 engine? Follow this step-by-step professional workshop procedure to secure the ATC 88800502 remover to the crankshaft flange, engage the seal casing, advance the central arbor, and pop main seals off smoothly without scoring journals.
Why Improvised Seal Pullers Destroy Volvo Crankshaft Journals
Main oil seals on Volvo D12 and D13 engines feature rigid steel outer cases vulcanized to Teflon (PTFE) inner sealing lips. Because these seals sit deeply in front timing covers and rear flywheel housings, mechanics often attempt to pull them by driving sheet metal screws into the seal casing and yanking with slide hammers. This improvised method carries extreme danger. The tip of a sheet metal screw easily pierces through the thin seal case and drills directly into the precision-machined face of the crankshaft sealing journal. When the slide hammer pulls, the screw drags a deep gouge along the shaft. Once a crankshaft journal is gouged, installing a new seal is useless—engine oil will weep past the scratch continuously, requiring expensive crankshaft grinding, sleeve installation, or complete engine removal. Utilizing the bolt-on ATC 88800502 remover anchors extraction force solidly against the center face of the crankshaft flange. By driving pulling arms uniformly into the seal body and advancing the central forcing arbor with a manual socket, the tool pulls the seal straight outward along a 100% linear axis. The seal releases cleanly in seconds with zero contact against the delicate crankshaft journal face.
The 5-Step Crankshaft Seal Removal Protocol
- Teardown Access & Cleaning: Remove the vibration damper (for front seal service) or flywheel (for rear main seal service). Wipe away engine oil sludge and road debris around the target seal casing using brake cleaner.
- Mount ATC 88800502 Base Adapter to Crankshaft: Position the base plate adapter of the ATC 88800502 tool squarely against the exposed crankshaft flange. Thread mounting bolts firmly into the crankshaft bolt holes to establish a rigid extraction anchor.
- Engage Pulling Arms into Seal Casing: Align the puller legs or engagement ring of the ATC 88800502 tool into the outer steel face of the target seal (such as Volvo seal 21779548 or 22191895). Secure locking screws to grip the seal body firmly.
- Lube Central Arbor & Execute Extraction: Apply clean engine oil or anti-seize to the threads of the central forcing arbor. Turn the central forcing screw clockwise using a manual hand socket or breaker bar.
- Draw Seal Off Journal & Inspect Surface: Continue turning the forcing screw to smoothly pull the seal casing straight off the crankshaft journal and housing bore. Remove the free seal, discard it, and inspect the crankshaft journal surface with a light to verify zero scoring before prepping the bore for fresh seal installation.
PRO-TECH MANUAL HAND SOCKET MANDATE:
Always advance the central forcing arbor of the ATC 88800502 remover using manual hand sockets or breaker bars! Never use high-speed pneumatic impact guns on forcing arbors; excessive impact speed can strip tool threads or cock pulling legs, damaging the tool assembly!
13 lbs of Heavy-Duty Tool Steel Precision. Protect Volvo D12/D13 Overhauls.
Get the ATC 88800502 Seal Remover Tool Now
overall rating:
my rating:
log in to rate