
Blog
volvo-d13-d12-crankshaft-seal-extraction-procedure
Precision lower-block structural teardown guidelines for freight maintenance fleets.
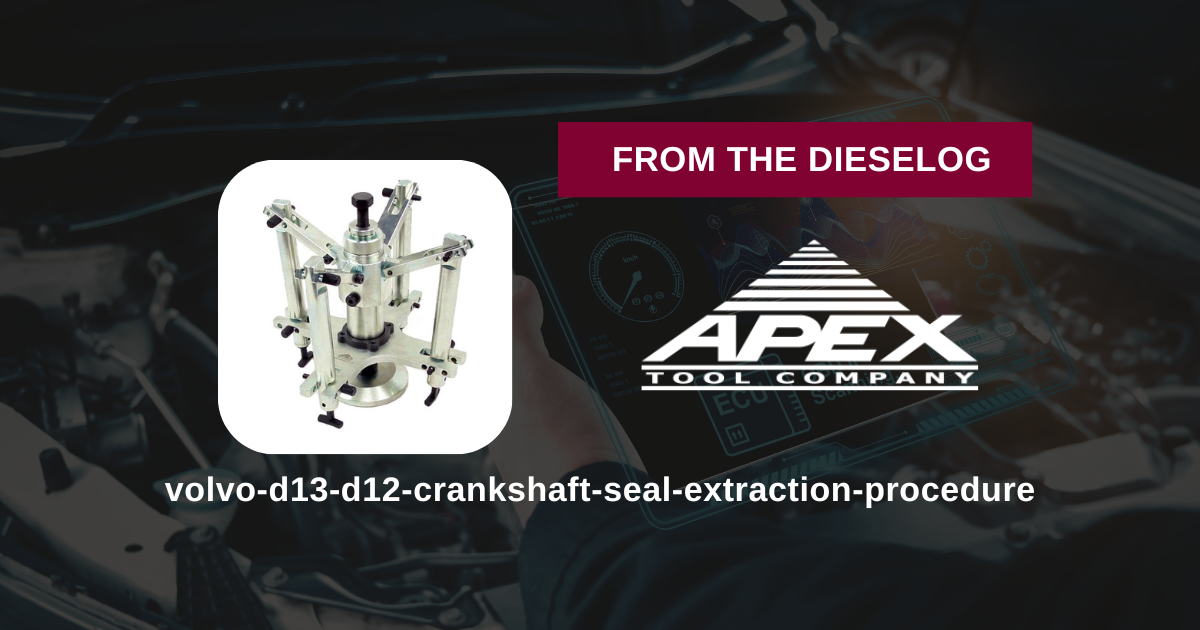
Dealing with a baking-hot front or rear crank seal on a Volvo tractor? Learn the professional technical sequence to pull tight seals cleanly without scraping precision metal lands using the ATC 88800502 extractor fixture.
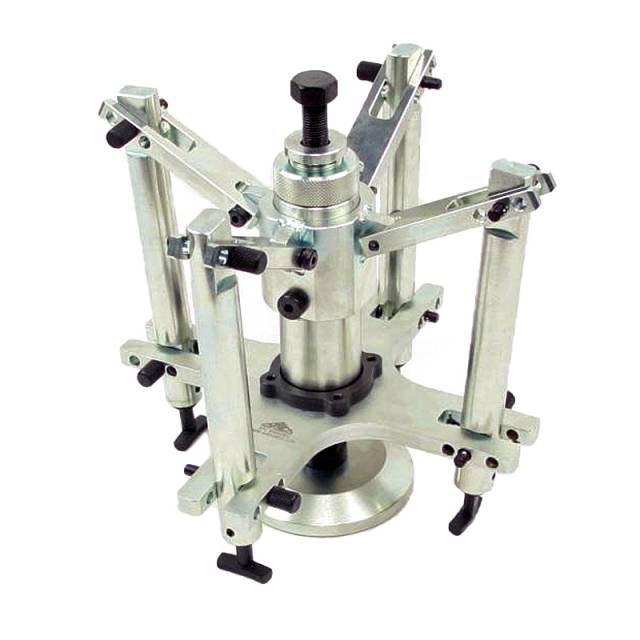
Why Asymmetrical Freehand Prying Fails on Hardened Steel Shells
The massive crankshaft seals on a Volvo D13 feature a heavy steel outer casing that tightly binds into the block housing via an unyielding interference fit. Over thousands of heavy-haul operating hours, oil varnish and high thermal cycles essentially bake this metal shell into the bore channel. When a mechanic tries to pry or walk the seal out using screwdrivers, unguided pry bars, or slide hooks, the mechanical force strikes unevenly. This asymmetrical distortion cocks the steel shell sideways, locking it tighter into its seat and gouging the soft aluminum front cover or rear flywheel plate. Even worse, sharp freehand tools easily slip across the journal face, scoring the precision-ground crankshaft snout and creating permanent tracking paths for oil blowouts. Utilizing a balanced center-pull fixture like the 13-pound ATC 88800502 draws the seal completely straight along its axis, shielding your engine parts from damage.
The 5-Step Crankshaft Seal Extraction Protocol
- 场地Workplace Clearance and Access Prep: Disconnect the vehicle batteries. For front seal service, remove the cooling fan, belts, and vibration damper. For rear seal service, drop the transmission and flywheel. Wire-brush the workspace to clear away thick road grease and sludge.
- Mount the ATC 88800502 Base Adapter: Align the center pilot mandrel adapter of the tool directly onto the crankshaft snout threads. Bolt it down tightly. This establishes a dead-centered, unyielding mechanical anchoring point for the pulling cycle.
- Engage the Extractor Jaws: Slide the pulling sleeve assembly over the guide hub. Thread the tool's specialized high-strength extraction screws straight into the face of the metal seal shell at evenly spaced geometric intervals. Ensure the teeth or screws grab the inner steel reinforcement layer of the seal firmly.
- Apply Center Forcing Tension: Thread the central high-torque force bolt clockwise into the center mandrel by hand until it makes solid contact. Slide your manual 1/2" drive breaker bar or a heavy shop wrench onto the hex head. *Note: Do not use high-speed pneumatic impact guns on fine puller threads to prevent gauling.*
- Pull the Seal True and Parallel: Turn the center force bolt smoothly and continuously. The massive mechanical leverage translates into a perfectly axial, parallel draw, pulling the frozen seal shell straight out of its housing channel with zero rocking or binding. Once out, unbolt the tool and wipe down the clean, unmarred bore land.
PRO-TECH CRANKSHAFT JOURNAL VERIFICATION MANDATE:
After drawing the old seal out with your ATC extractor, always inspect the crankshaft journal face under bright light before installing a new seal. Look closely for deep wear grooves carved into the steel by road grit over millions of revolutions. If a noticeable step or lip has worn into the shaft, hitting that exact same spot with a fresh seal will cause immediate oil weeping. In these scenarios, you must use a specialized wear sleeve (speedi-sleeve) or utilize a seal installer tool that safely offsets the new seal lip onto a fresh, ungrooved section of the shaft.
Class 8 Heavy Duty Crank Extraction. Protect Precision Flanges.
Get the Volvo 88800502 Master Remover
overall rating:
my rating:
log in to rate