
Blog
Volvo D13 & Mack MP8 Rear Main Seal Installation Steps
Precision lower-block structural reconditioning guidelines for commercial freight fleets.
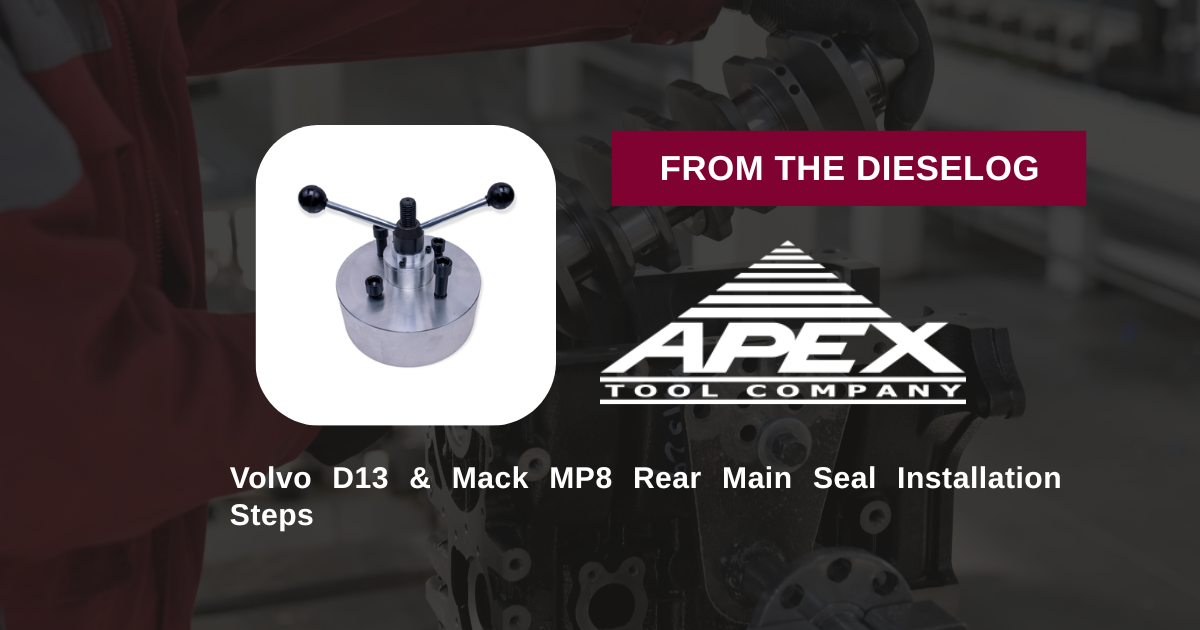
Dropping the transmission to replace a leaking rear crankshaft seal on a Volvo or Mack highway tractor? Follow this step-by-step professional workshop procedure to press seals squarely to exact factory depth using the ATC 9990166 / 8880013 installer tool.

Why Off-Axis Driver Pressure Destroys Class 8 Crankshaft Seals
The rear crankshaft oil seals on Volvo D13 and Mack MP8 engines are wide, rigid sealing elements. During installation, the flexible sealing lip must expand smoothly over the sharp chamfer step of the crankshaft flange. When a technician attempts to drive the seal into the flywheel housing using generic flat driver plates, wooden blocks, or perimeter hammer taps, force is applied unevenly. The seal instantly cocks sideways in the bore well. As force continues, the cocked edge folds the sealing lip backward or tears the delicate elastomer element. Even a minor rolled lip destroys the radial seal contact, letting engine oil blast straight past the crankshaft into the flywheel housing upon hot startup. Utilizing a pilot-guided draw-bar tool like the 10-pound ATC 9990166 anchors all force squarely to the crankshaft center, drawing the seal perfectly parallel into its bore.
The 5-Step Rear Main Seal Installation Protocol
- Flywheel Removal & Surface Inspection: Remove the transmission, clutch assembly, and heavy flywheel. Clean all old oil, scale, and carbon buildup off the crankshaft flange and rear housing bore using quick-drying solvent. Inspect the shaft journal for deep grooves or burrs.
- Bolt Down the Pilot Guide Hub: Mount the inner pilot guide plate of the ATC 9990166 kit flatly against the crankshaft hub flange face using the provided mounting bolts. Thread the bolts in by hand to ensure the pilot plate sits dead-centered and flush against the shaft nose.
- Stage the Replacement Oil Seal: Position the fresh oil seal (such as part # 22191895 or 1543896) squarely over the pilot guide sleeve. *Note: Ensure the seal is oriented correctly per factory service guidelines (e.g., inward or outward lip direction depending on the specific engine bulletin and whether the 88800619 adapter is required).*
- Position the Driver Cup & Forcing Hardware: Place the large outer driver cup of the ATC 9990166 kit over the pilot spindle. Thread the heavy central force nut down onto the threaded mandrel rod by hand until the driver cup settles flat against the seal casing.
- Execute Controlled Parallel Pressing: Using a manual 1/2" drive socket or breaker bar, turn the central force nut clockwise in a smooth, continuous motion. The driver cup will press the seal evenly down into the housing bore. Continue turning until the tool flanged shoulder bottoms out flat against the guide hub stop, setting the seal to exact OEM depth limits. Back off the nut, unbolt the pilot hub, and reassemble the drivetrain.
PRO-TECH MANUAL OPERATION SAFETY MANDATE:
Always operate the forcing nut of the ATC 9990166 tool using manual hand wrenches or breaker bars! High-speed pneumatic air or electric impact wrenches produce high-frequency hammering shocks that can gall tool threads, warp the driver cup, or cause the seal housing to bind inside the engine bore. Turn all components smoothly by hand.
10 lbs of Solid Machined Steel Precision. Eliminate Seal Installation Rework.
Get the Volvo & Mack 9990166 Tool Now
overall rating:
my rating:
log in to rate