
Blog
Volvo D8 Rear Main Crankshaft Seal Replacement
Precision lower-block structural reconditioning guidelines for commercial vehicle fleets.
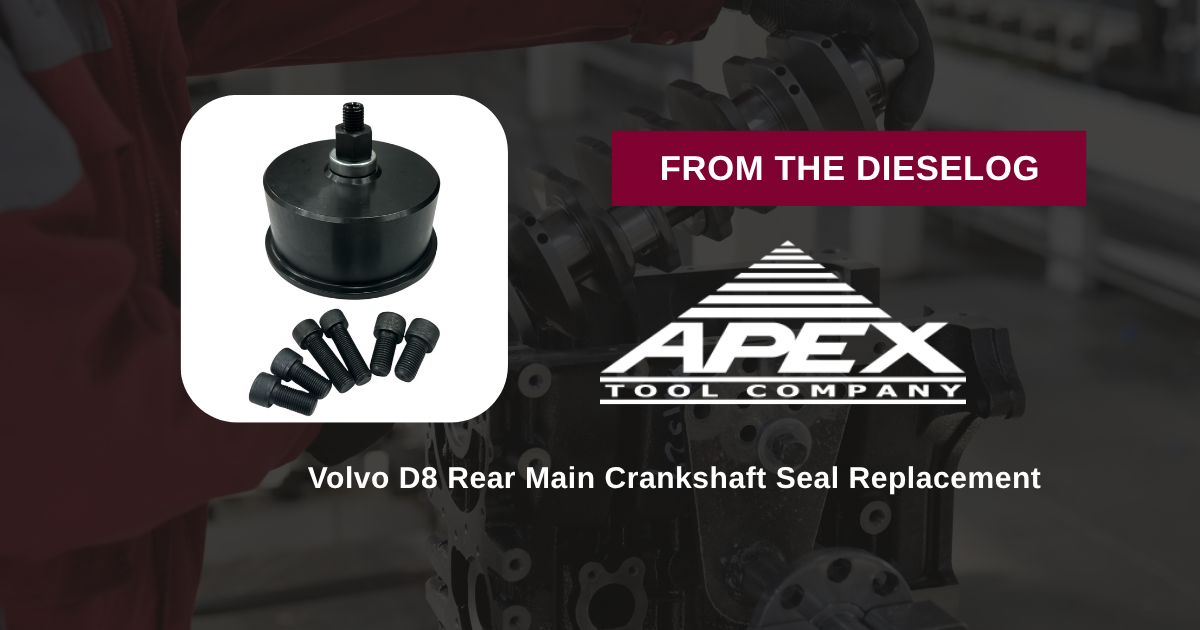
Executing an in-frame transmission overhaul or replacing a leaking rear main on a Volvo medium-duty truck or bus? Learn the professional technical sequence to press pre-assembled PTFE seals safely with the 88840423 fixture.
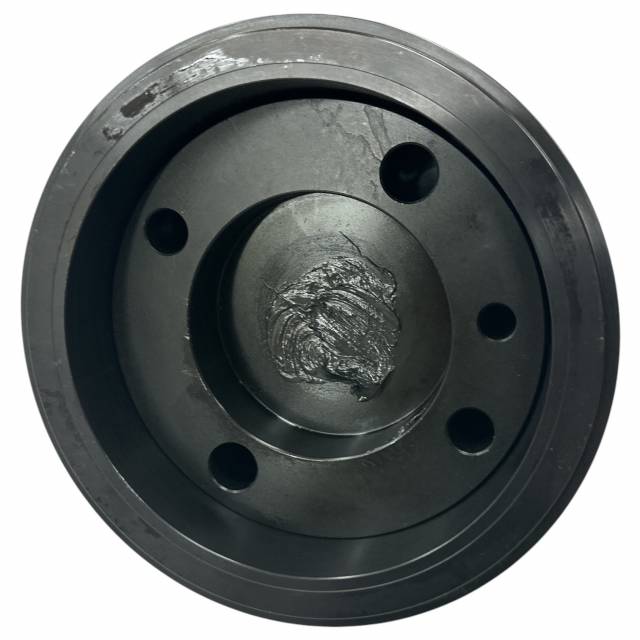
Why Asymmetrical Tool Deflection Destroys Stiff Teflon Face Lips
The rear flywheel housing on a Volvo D8 engine requires absolute precision during re-sealing. When a technician attempts to drive a fresh pre-assembled seal carrier home using freehand tools, a mallet, or an unguided sleeve, the striking force shifts unevenly across the large circumference. This tilting forces the rigid, dry-spec PTFE seal lip to crease or experience asymmetrical friction against the crank. Unlike old-school rubber lip seals that feature an internal spring to absorb distortions, high-tech Teflon seals rely purely on the plastic's material memory to grip the steel journal. Any tiny wrinkle introduced during a cocked installation creates a permanent gap, letting hot engine oil leak directly into the dry flywheel chamber. Utilizing a heavy-duty pilot-supported mechanical tool like the 10.4-pound 88840423 ensures completely parallel, balanced axial draw to seat the seal dead-flush.
The 5-Step Rear Main Sealing Protocol
- Flywheel Teardown and Flange Inspection: Drop the medium-duty transmission, clutch pack assembly, and flywheel. Remove the failed rear main seal housing carrier. Clean the crankshaft snout flange and the flywheel housing bore aggressively with solvent to strip away varnished oil crust, carbon soot, and road scale.
- Verify a Bone-Dry Flange: Inspect the crankshaft journal surface closely for grooving. Ensure the entire area is 100% clean and bone dry. *CRITICAL MATERIAL WARNING: Never apply grease, oil, or assembly lube to a dry-spec PTFE seal lip or to the crankshaft journal! Fluid contamination prevents the Teflon from naturally memory-shrinking onto the steel axis, guaranteeing an immediate leak.*
- Bolt Down the Pilot Guide Hub: Mount the inner pilot guide mandrel of your 88840423 kit tightly onto the crankshaft hub flange face using the provided mounting fasteners. This creates a completely concentric tracking bridge that guides the delicate PTFE lip onto the shaft without flipping it backward.
- Position the Seal and Assemble the Driver: Slide the fresh, pre-assembled PTFE seal carrier carefully onto the guide sleeve. Position the large outer driver plate collar cup over the central threaded force rod. Thread the primary central force nut on by hand until it makes flat contact with the driver assembly face.
- Execute Controlled Mechanical Pressing: Using a manual high-leverage wrench or breaker bar, slowly turn the center force nut clockwise. The mechanical leverage will smoothly press the seal carrier straight and level into the housing bore. Continue turning until the tool flanged rim flat-bottoms against the flywheel housing face, indicating absolute factory depth alignment.
PRO-TECH PTFE MATERIAL RELAXATION MANDATE:
After pressing a new Teflon rear main seal home with the 88840423 fixture, you must leave the engine block completely stationary and undisturbed for a minimum of 2 to 4 hours before starting it up or barring the crankshaft over! This relaxation window is absolutely mandatory to let the expanded Teflon plastic memory-shrink tightly and establish a flawless, leak-free grip around the steel journal axis.
Medium-Duty Rear Main Integrity. Zero Crankshaft Snout Scoring Hazards.
Get the Volvo D8 88840423 Tool Set
overall rating:
my rating:
log in to rate