
Blog
Volvo & Mack Revised Rear Main Seal Step Sequence
Precision lower-block structural reconditioning guidelines for freight maintenance terminals.

Tackling an intensive rear main re-sealing loop on a Class 8 highway tractor or vocational mixer rig? Learn the proper technical sequence to mate the ATC 88800619 adapter and drive updated neoprene seals home safely.
Why Legacy Standalone Drivers Roll Inward-Facing Neoprene Casing Lips
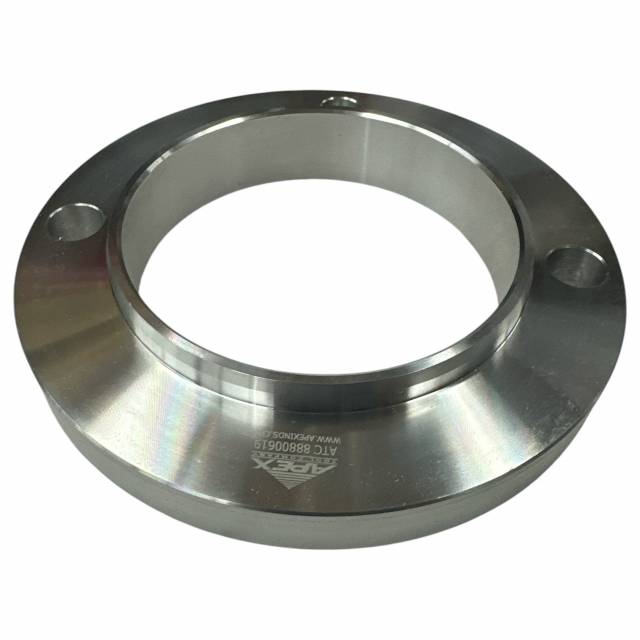
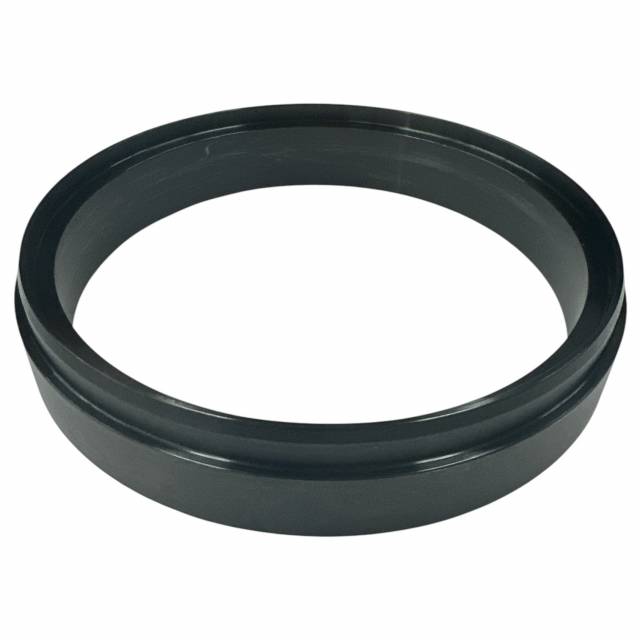
The revised rear main oil seals deployed on modern Volvo D13 and Mack MP8 engine blocks are highly sensitive to tool stack offsets. Unlike legacy early-style seals that driven flush along the housing rim, these updated neoprene components must seat facing directly inward at a precise depth calculated by factory engineers. When a line mechanic attempts to press these modern seals home using a standalone un-modified 9990166 driver plate, the tool applies pressure at the wrong points. This structural oversight causes the inward-slanted neoprene lip to roll backward or bunch up against the sharp steps of the crankshaft hub flange face. A rolled lip has zero radial sealing force—guaranteeing that the moment your engine builds oil pressure, hot lubrication fluid will blast straight past the flange, destroying your dry clutch or torque converter. Interlocking the specialized ATC 88800619 adapter over your driver plate modifies the tool face thickness perfectly, enforcing a completely straight and depth-correct parallel press path.
The 5-Step Rear Main Assembly Modification Sequence
- Transmission Teardown and Crank Triage: Drop the heavy manual or automatic transmission gear assembly, clutch packs, and flywheel. Extract the old leaking seal casing. Wire-brush the crankshaft flange snout land and the rear housing bore aggressively with solvent to strip away hard carbon scale and sludge glaze.
- Mesh the ATC 88800619 onto the Driver Base: Take your factory 9990166 base installer tool and slide the ATC 88800619 adapter plate directly onto the driver hub assembly. Align the tool slots and locking teeth until they mate flush and square into axis truth—this locks the two plates into a solid, wiggle-free driving module.
- Stage the Updated Inward-Facing Seal: Position your fresh replacement neoprene seal (part reference 22191895 or equivalent) squarely onto the adapter driver ring. Verify that the seal lip is oriented facing directly inward toward the engine block, completely flat and level across the circumference.
- Anchor the Tool Assembly to the Crank Snout: Slide the loaded installer and adapter assembly over the crankshaft flange center. Thread the primary mounting guide fasteners deep into the crankshaft hub threads by hand to ensure the tool stack sits dead-centered and cannot tilt off-axis.
- Execute Controlled Parallel Pressing: Lubricate the central force mandrel screw threads lightly with clean engine oil. Slide on a manual 1/2" drive socket or a high-leverage breaker bar and turn clockwise smoothly. The ATC 88800619 adapter will smoothly compress the seal housing, pressing it straight down into the block well until the adapter collar bottoms flatly against the factory stop, ensuring the perfect depth limit. Back off the nut, unbolt the bridge plate, and verify a flawless fit.
PRO-TECH HIGH-SPEED IMPACT PRESSURE WARNING:
Never use high-speed pneumatic air or electric impact wrenches to turn the center forcing bolt of your tool stack during a seal installation loop! High-frequency hammer shocks generate massive force spikes that can easily crack the caked aluminum seal housing casting, strip out fine tool threads, or crush the internal steel reinforcement ring of your fresh neoprene seal. Pull all final seating stages smoothly by hand using manual leverage.
4.40 lbs of Hardened Structural Tool Alloy. Preserve Revised Factory Specifications.
Get Your ATC 88800619 Adapter Now
overall rating:
my rating:
log in to rate