Blog
Step-by-Step: MX-11 Front & Rear Crank Seal R&R with the ATC1903058
Full Photo Tutorial Using the ATC1903058 (1903058 Replacement)
How to Replace MX-11 Crank Seals Without Destroying $400 Seals
Full Photo Guide Using the ATC1903058 (1903058 Replacement)
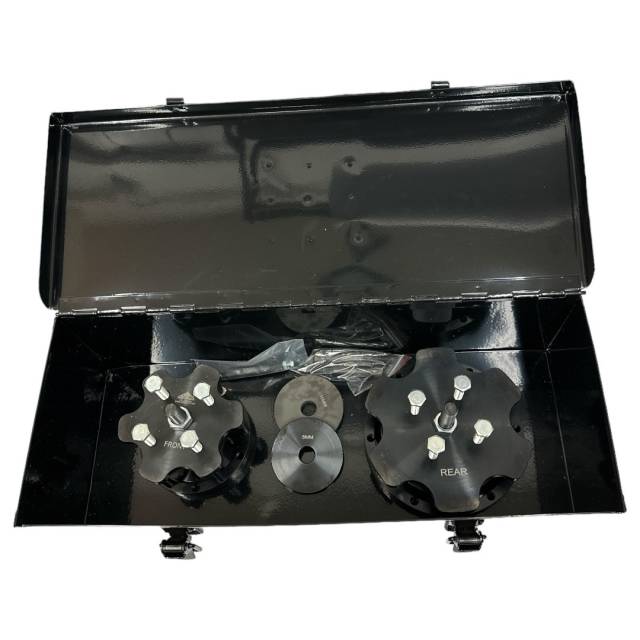
Complete Step-by-Step (Front & Rear)
Front Seal Removal & Install
- Remove harmonic balancer
- Install puller cup + bridge
- Tighten forcing screw → old seal pops out clean
- Lightly oil new 1923376 seal
- Use installer driver → seats perfectly flush
Rear Seal Removal & Install
- Remove flywheel
- Bolt bridge to crank → extract old seal
- Install new 1923380 seal with wear sleeve
- Use rear driver → no rolled PTFE lip
Critical: Rear driver prevents the #1 cause of immediate leaks
overall rating:
my rating:
log in to rate