
Blog
Cat 3406 Block Deck Thread Insert Installation Steps
Precision cylinder block restoration guidelines for commercial diesel machinists and heavy equipment rebuilders.
Prepping a Caterpillar 3406 block deck for reassembly and found a stripped 3/4"-16 head bolt hole? Follow this professional machinist procedure to ream, tap, and set the LS-8704 solid steel insert flush to the deck face.
Why Wire-Wound Coils Fail on Heavy Diesel Head Bolts
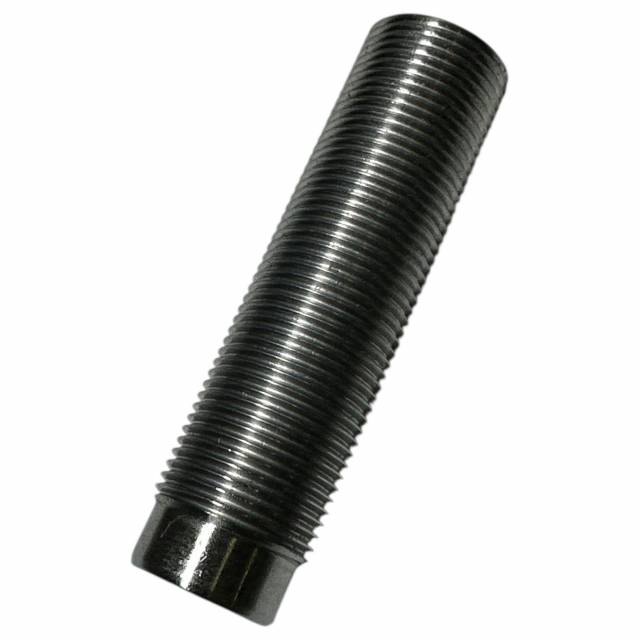
Cylinder head bolts on Caterpillar 3406 engines clamp down with tens of thousands of pounds of force. When a head bolt thread strips out in the cast-iron block, attempting to fix it with a flexible wire coil insert (like standard Helicoils) is a dangerous shortcut. Wire coils rely on outward spring tension against the tapped cast iron walls, but under high bolt torque and thermal expansion, the thin wire spring stretches and distorts. As the head bolt is pulled through its angular turn specification, the coil grabs the bolt threads, binds, and pulls straight up out of the deck face—destroying the hole permanently. Utilizing a heavy-walled, 3-1/4" solid steel insert like the LS-8704 creates a rigid, solid steel-to-cast iron thread wall that absorbs high torque-angle forces without flexing, galled threads, or pulling up.
The 5-Step Block Deck Thread Insert Installation Protocol
- Block Deck Cleaning & Fixture Mounting: Thoroughly clean the engine block deck face. Vacuum out all oil, water, and debris from the stripped bolt hole well. Mount a rigid alignment fixture (such as the M20111-B) securely to the deck using adjacent, undamaged head bolt holes to ensure 100% perpendicular alignment.
- Ream Out Damaged Block Threads: Insert the designated core reamer bit through the guide sleeve of the alignment fixture. Apply generous amounts of heavy cutting oil to the reamer flutes and drive the tool at low RPM to bore out the damaged 3/4" threads down to the required 3-1/4" depth stop.
- Tap the 7/8" X 16 TPI Oversized Cavity: Thoroughly clean away iron chips using a shop vacuum. Insert the matching 7/8"-16 tap through the fixture's guide sleeve. Apply cutting wax or oil to the tap flutes and turn the tap smoothly using a tap wrench. Back the tap out periodically to clear chips until the full 3.25" depth is tapped.
- Apply Thread Locker & Seat the LS-8704 Insert: Remove the alignment fixture and thoroughly flush all metal shavings out of the bore with solvent and compressed air. Apply high-strength, high-temperature thread locking compound generously to the external 7/8"-16 threads of the LS-8704 insert. Thread the insert down into the block using an insert driver tool until it sits flush or slightly below the deck face.
- Cure Time & Final Head Assembly: Allow the thread locking compound to cure fully per manufacturer guidelines (typically 2 to 4 hours). Clean internal 3/4"-16 threads of the insert, lube fresh OEM head bolt threads with clean engine oil, and execute the factory-specified torque-plus-angle sequence.
PRO-TECH THREAD LOCKER & CURE TIME MANDATE:
Always apply heavy-duty red high-temperature anaerobic thread locker to the external 7/8"-16 threads of the LS-8704 insert before threading it into the block! Never torque a head bolt into a newly installed insert until the thread locker has fully cured. Torquing against wet sealant can cause the insert to rotate or back out during the final angular torque pass.
Heavy-Wall Steel Alloy. Permanent Deck Thread Strength for Cat 3406.
Get Your LS-8704 Inserts Now
overall rating:
my rating:
log in to rate