
Blog
Calibrating & Pressure Testing Cat 3406/3408 Oil Coolers
Precision powertrain low-pressure cooling component reconditioning guidelines for fleet shops.
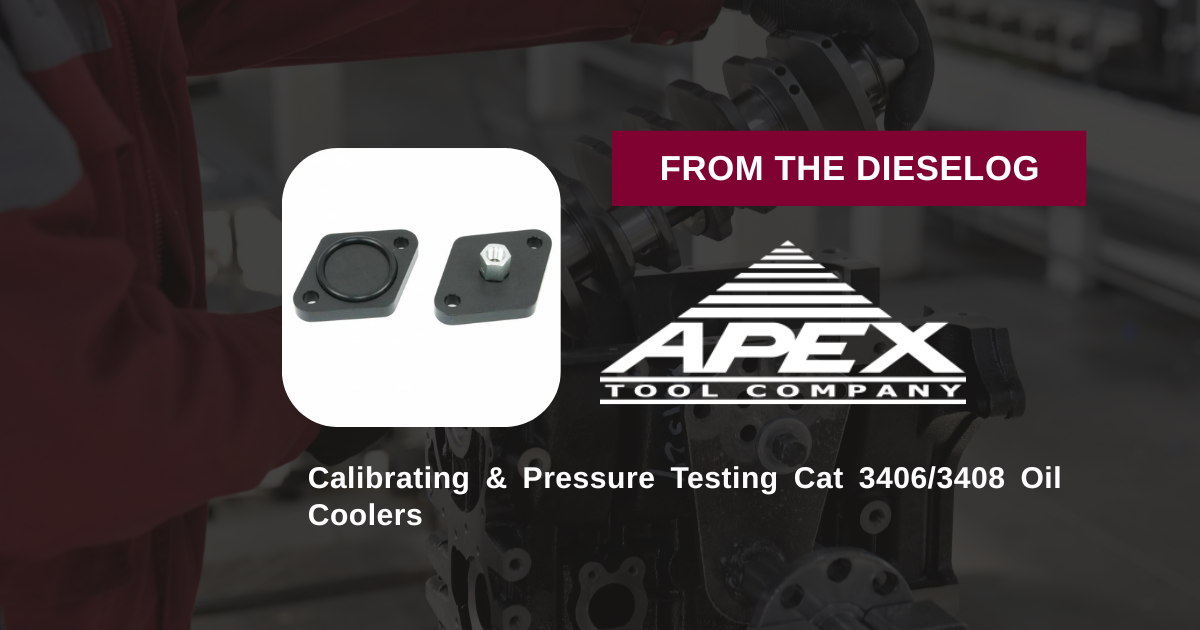
Dealing with caked fluid sludge inside a Caterpillar cooling loop or prepping a 3406E core for final reassembly? Learn the professional technical sequence to isolate and bubble-test core boundaries using the M10237 plate fixture.
Why Loose Bench-Testing Fails to Expose Heat-Stressed Micro-Cracks
The copper or aluminum cooling bundles inside a Caterpillar 3408 cooler expand and contract dramatically under normal operating temperatures. Often, a hair-line fatigue crack will remain tightly clamped shut while the engine is cold or at rest, hiding from ordinary visual checkouts. If a line technician seals the core ports with universal rubber expansion plugs or simple hose adapters and injects low-pressure air, the weak clamping mechanism will slip or fail before the internal core matrix can stabilize under testing loads. This unguided test results in a false pass, letting a bad cooler slip through final engine reassembly. Utilizing a rigid, bolted faceplate like the M10237 replicates actual block torquing loads, maintaining complete sealing containment so you can safely inject diagnostic air and pinpoint leaks under real-world pressure limits.
The 5-Step Submersion Diagnostic Sequence
- 场地Core Teardown and Chemical Solit Cleanout: Extract the oil cooler assembly from the engine side-housing cover. Flush the internal passages aggressively with solvent to strip away heavy carbon varnish, scale scale, and coagulated engine oil, ensuring the metal faces are clean.
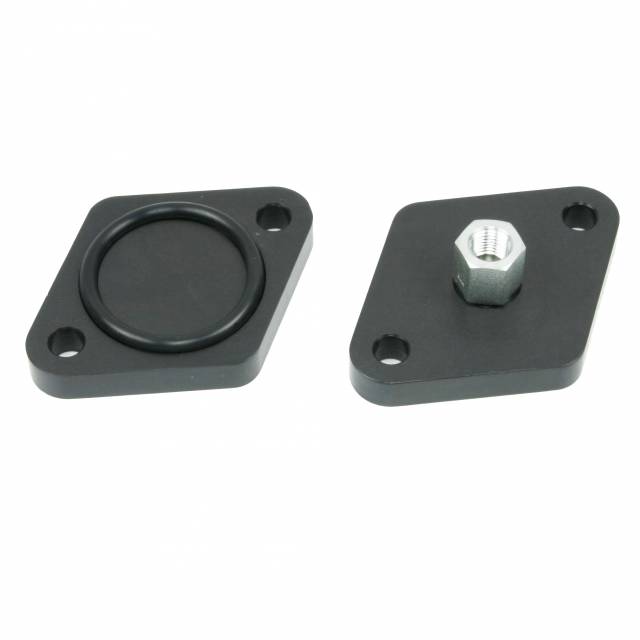
- Bolt Down the M10237 Flange Plates: Align the precision machined M10237 blanking plates flat over the cooler core's inlet and outlet oil port flanges. Position clean test gaskets or factory O-rings between the tool and core face, then torque the mounting bolts evenly to prevent cocking.
- Hook Up Regulated Diagnostic Air: Thread your standard shop air utility line fitting into the integrated air valve nipple on the primary M10237 tool plate. *CRITICAL CONTROL DISCLOSURE: Adjust your shop regulator downwards to apply no more than 30 to 40 PSI of air pressure initially to prevent over-stretching the internal copper bundles.*
- Execute Water Tank Submersion: Lower the fully pressurized core assembly directly into a deep wash tank filled with clean water. Hold the core completely submersed under the fluid line for a minimum of 2 to 3 minutes, rotating it slowly to allow trapped external air to escape.
- Monitor for Air Bubble Tracking: Inspect the bundled matrix closely across the water Well. A solid core will maintain absolute hydraulic hold with zero activity. If you see a consistent stream of micro-bubbles or a steady column of foam escaping from inside the copper core matrix, you have confirmed an internal partition leak—indicating a scrap cooler core that requires replacement.
PRO-TECH REGULATED HYDRAULIC FORCE WARNING:
Never inject unrestricted shop line air pressure (typically 120+ PSI) directly into a Caterpillar oil cooler core during testing! Excessive air surges can warp the thin aluminum plates, shear the internal core solder seams, or violently split open the internal cooling channels—instantly ruining a perfectly salvageable cooler core and creating a hazardous workshop blowout risk. Always use a precision gauge regulator to control pressure delivery.
Concentric Port Containment. Stop Waste Reconstruction Costs.
Get the Caterpillar M10237 Bench Fixture
overall rating:
my rating:
log in to rate