
Blog
Caterpillar C-15 Injector Sleeve Replacement Steps
Precision cylinder head reconditioning guidelines for commercial fleet mechanics.
Performing a top-end overhaul or repairing coolant leakage around an injector on a Caterpillar C-15 engine? Follow this step-by-step professional workshop procedure to clean the bore landing, set sealant, and drive fresh sleeves squarely using the ATC 10224 installer tool.
Why Off-Angle Sleeve Installation Destroys Top-End Sealing
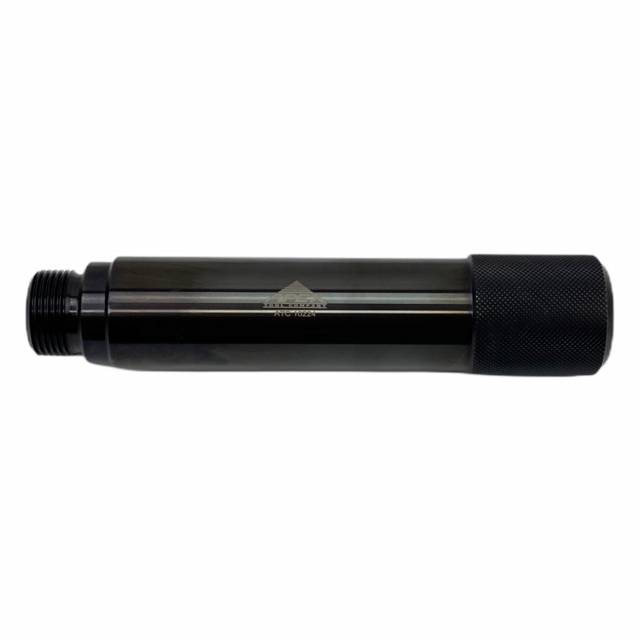
The injector sleeve on a Caterpillar C-15 sits in direct contact with engine coolant jackets while forming the landing cone for the unit fuel injector. When installing a replacement sleeve, it must pass down into the head bore and seat perfectly flat against the lower copper shoulder. If a mechanic attempts to tap the sleeve into position using unguided punches or improvised sockets, force is concentrated on a single edge. The thin sleeve wall distorts or cocks sideways in the bore well. An un-level sleeve prevents the lower sealing ring or anaerobic retaining compound from spreading evenly. Upon engine restart, high-pressure combustion gas forces its way past the distorted sleeve lip into the cooling system, blowing coolant out of the expansion tank and causing engine overheating. Utilizing a dedicated mandrel driver like the ATC 10224 ensures that 100% of the driving force remains centered and parallel, seating the sleeve flush against its lower stop without distorting the metal.
The 5-Step Injector Sleeve Installation Protocol
- Bore Extraction & Surface Cleaning: Extract the worn sleeve using an appropriate puller tool. Thoroughly clean all scale, old retaining compound, and carbon buildup off the cylinder head bore wall and lower sleeve seating shoulder using solvent and a brass bore brush. Blow out all debris with compressed air until the landing is bone-dry.
- Inspect the Seating Landing: Inspect the lower cast-iron shoulder inside the head bore for scoring or pitting. Verify that the fresh replacement sleeve is clean, dry, and free of burrs or shipping damage.
- Apply Retaining Compound & O-Ring Lubricant: Apply a light, uniform bead of high-temperature anaerobic retaining compound to the lower sealing band of the new sleeve per Caterpillar service guidelines. If equipped with lower sealing O-rings, coat them lightly with clean engine oil or specified assembly lube.
- Position the Sleeve & Mount the ATC 10224 Installer: Lower the fresh sleeve squarely into the clean cylinder head bore by hand. Insert the pilot mandrel of the ATC 10224 installer down through the center of the sleeve until its drive shoulder rests flat against the top lip of the sleeve.
- Execute Controlled Driven Seating: Using a brass-headed driver mallet or mechanical press setup, apply smooth, centered downward force on the top drive head of the ATC 10224 installer. Drive the sleeve home until you feel a solid mechanical bottoming against the lower bore stop. Withdraw the tool, inspect the sleeve interior for concentricity, and allow the retaining compound to cure fully before installing the fuel injector.
PRO-TECH DRIVER MALLET SAFETY MANDATE:
Always use a brass, dead-blow, or heavy wooden mallet against the top strike face of the ATC 10224 tool! Never strike the tool with hardened steel sledges, as steel-on-steel impact can mushroom the tool drive head, generate dangerous metal shards, or apply harsh shock loads that fracture the delicate lower sleeve seat inside the cast-iron cylinder head.
Precision Machined Tool Steel. Protect Your Caterpillar C-15 Top End.
Get the ATC 10224 C15 Installer Now
overall rating:
my rating:
log in to rate