Jump to the main content
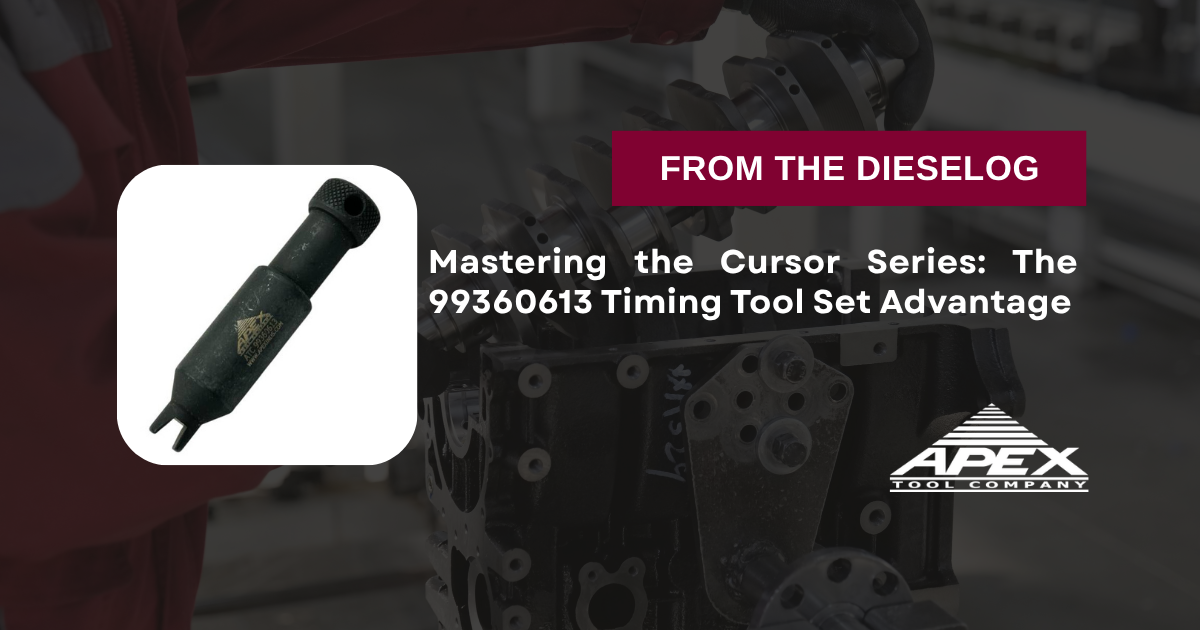
The all-in-one timing solution for Cursor series diesel platforms.
Posted on April 02, 2026
Professional procedure for Iveco and New Holland heavy-duty engine timing.
Posted on April 01, 2026
The mandatory alignment pin for Iveco and New Holland Cursor series overhauls.
Posted on April 01, 2026
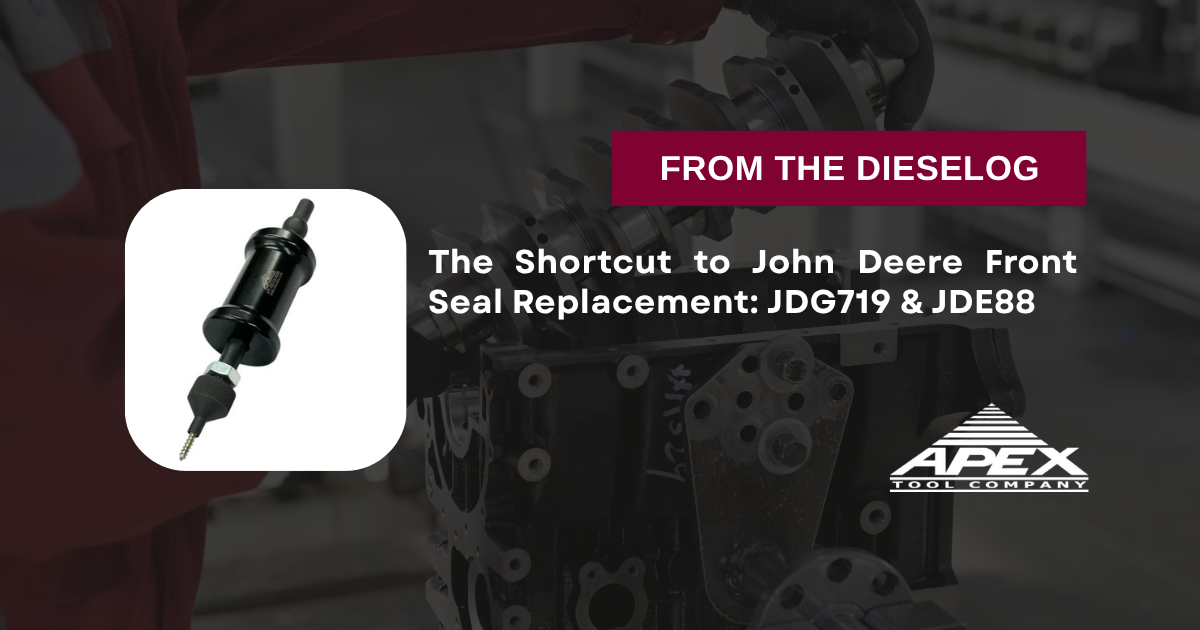
Professional procedure for John Deere 4045 and 6068 front seal overhaul.
Posted on March 31, 2026
The mandatory puller for John Deere 4.5L and 6.8L unitized front seals.
Posted on March 31, 2026
Speed meets precision in this guide to John Deere front seal extraction.
Posted on March 31, 2026
The essential tool for John Deere front seal replacement without gear cover removal.
Posted on March 31, 2026
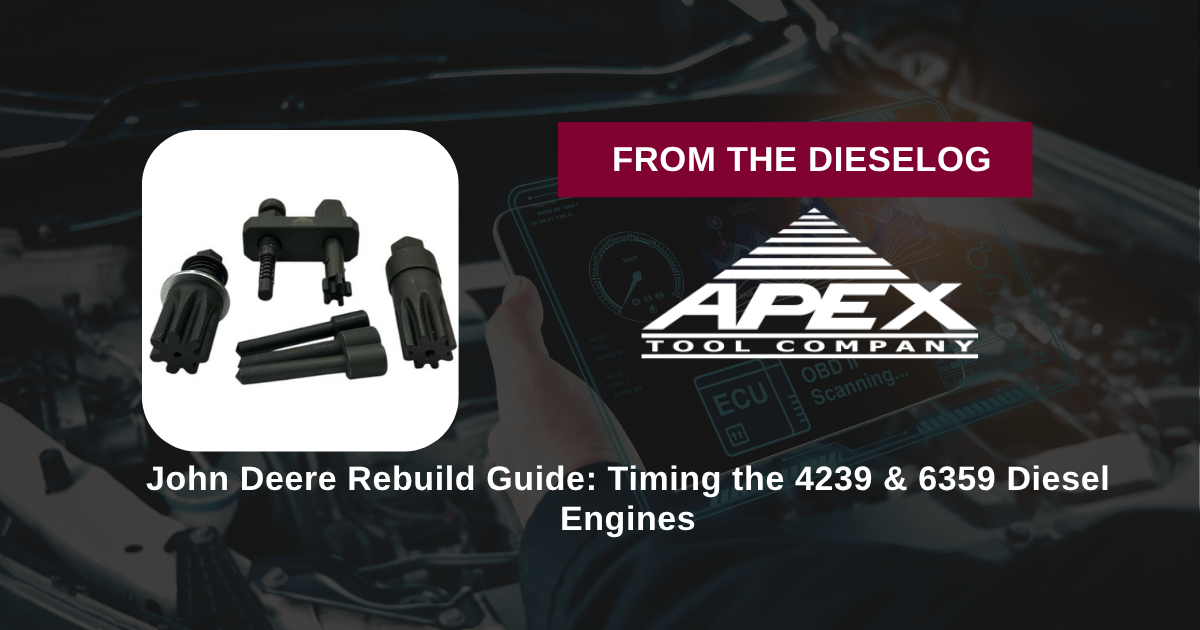
Master the gear train synchronization of John Deere's most popular diesel workhorses.
Posted on March 30, 2026
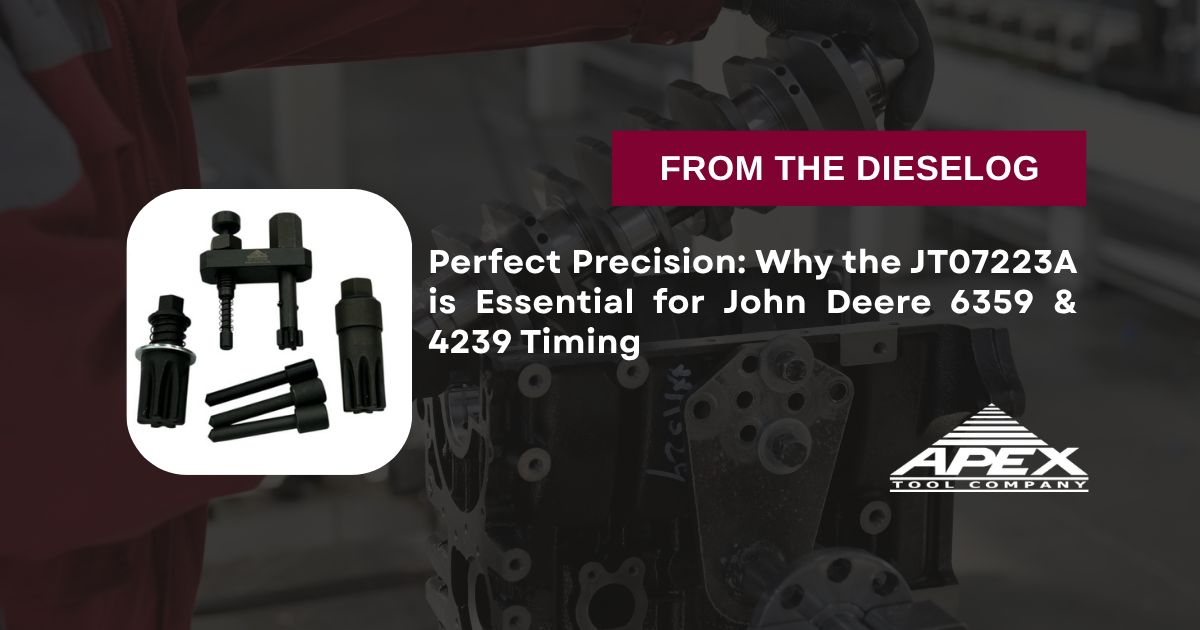
The professional choice for precise John Deere diesel gear train synchronization.
Posted on March 30, 2026
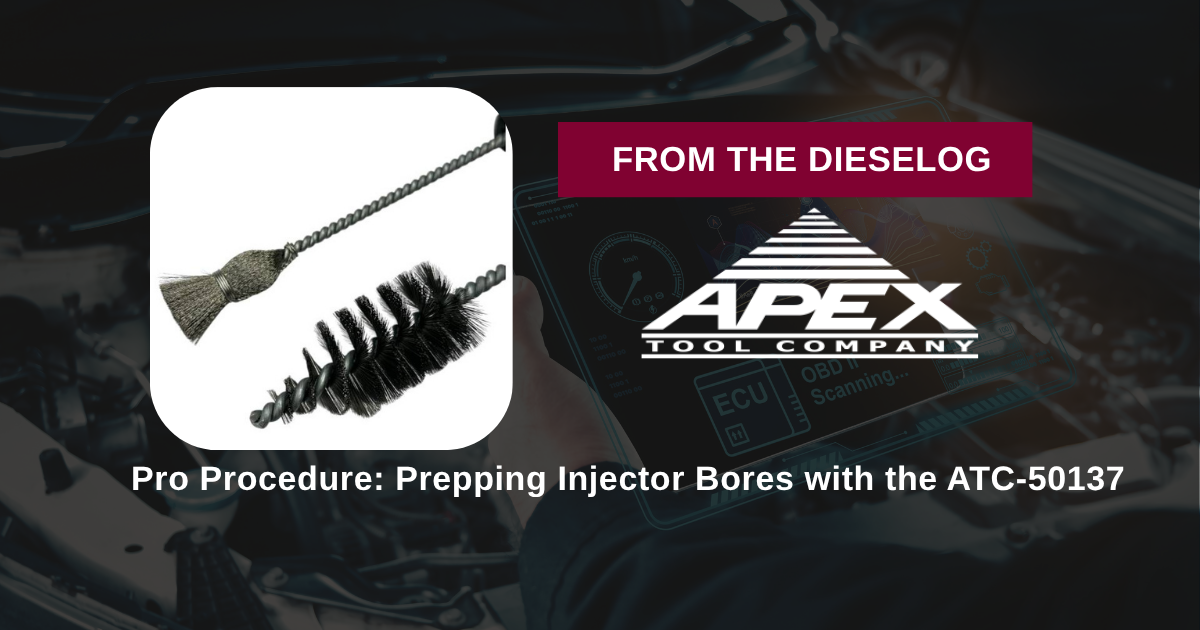
The 10-step protocol for perfect injector seating in heavy-duty engines.
Posted on March 27, 2026