Blog
Navistar Oil Gallery Plug Installation Procedure: ZTSE4512 Professional Guide
Detailed oil gallery plug service procedure with ZTSE4512 for Navistar engines.

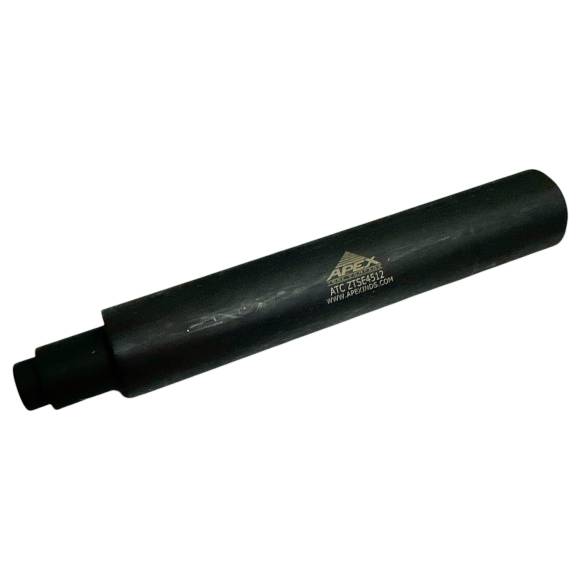
This 10-phase procedure uses the ZTSE4512 driver to install and remove oil gallery plugs on Navistar engines—ensures proper torque, alignment, and leak-free sealing.
Introduction: Precise Oil Gallery Plug Service for Navistar Engines
The ZTSE4512 provides controlled torque and alignment—vital for maintaining oil pressure and preventing leaks into combustion areas.
Phase 1-3: Preparation & Plug Access
- Secure engine block – Fixture or stand support
- Locate & clean gallery plug area – Remove debris & old sealant
- Inspect plug threads & bore – Check for damage; chase threads if needed
Phase 4-6: Plug Installation & Torquing
- Apply thread sealant (if required) – Per Navistar spec
- Start plug by hand – Ensure square alignment
- Use ZTSE4512 driver – Torque to exact specification
Phase 7-10: Removal (if needed) & Final Checks
CRITICAL: ZTSE4512 Plug Service Keys
- Remove plug carefully – Reverse torque with driver
- Inspect plug & gallery – Clean or replace as needed
- Reinstall or install new plug – Torque & verify seal
- Pressure test oil system – Confirm no leaks
Critical Warnings: Oil Gallery Plug Service Hazards
AVOID THESE COSTLY ERRORS:
- ❌ Improvised driver – Thread stripping or face damage
- ❌ Over-torque – Plug breakage or galling
- ❌ No thread sealant (if spec’d) – Leak path
- ❌ Cross-threading – Permanent bore damage
- ❌ Skip pressure test — Undetected leaks
Why ZTSE4512 Beats Improvised Tools
Improvised Risks:
- ❌ Socket slip → $200+ thread repair
- ❌ Uneven torque → Leak path
- ❌ Face damage → Plug replacement
ZTSE4512 Advantages:
- ✅ Controlled alignment
- ✅ Precise torque application
- ✅ Thread & face protection
- ✅ Leak-free results
- ✅ Saves $11K–$39K per bad job
- ✅ Navistar reliability
Service Navistar Oil Gallery Plugs Professionally. Leak-Free. No Damage. Reliable Oil Pressure.
Get ZTSE4512 – $60.00
overall rating:
my rating:
log in to rate